I’m Robbie Fraikin, owner of Raakss Reno. Over the years, I’ve helped hundreds of homeowners create bathrooms that are not only beautiful but also practical and healthy. One of the biggest challenges bathrooms face is mold. Because bathrooms naturally collect steam, humidity, and splashes of water, they become the perfect breeding ground for mold if not managed correctly. Left unchecked, mold can stain surfaces, damage finishes, and even affect your family’s health. In this article, I’ll walk you through proven strategies I use in my own renovation projects to help homeowners prevent mold and maintain a fresh, safe, and inviting space.
Why Bathroom Mold Happens
Mold is a living organism that thrives in damp, warm, and poorly ventilated spaces. In bathrooms, moisture comes from multiple sources: hot showers, wet towels, dripping faucets, and even condensation on mirrors and windows. If this moisture lingers too long, mold spores—which are always present in the air—find a surface to grow on, like grout, drywall, or caulk. Not only does mold look unpleasant, but it also creates a musty smell that can make your bathroom feel dirty no matter how much you clean. Over time, untreated mold can damage walls, tiles, and flooring materials, leading to costly repairs. This is why prevention is not only healthier but also a smarter financial move compared to full remediation.
Install and Use a Proper Exhaust Fan
A high-quality exhaust fan is your first line of defense against mold growth. The fan works by pulling humid air out of your bathroom and venting it outside, which lowers the overall moisture level. However, not all fans are created equal—if your fan is too small for your bathroom size, it won’t be effective. The rule of thumb is to match the cubic feet per minute (CFM) rating of the fan to your bathroom’s square footage. For example, an 8-foot ceiling bathroom that’s 100 square feet needs a fan rated at about 110 CFM. In my bathroom renovation planning guide, I always recommend homeowners upgrade their fan during renovations since it’s easier to install the right system while walls are open.
Run the Fan Long Enough
Running the fan only during your shower isn’t enough to prevent mold. Moisture lingers in the air long after you’ve finished bathing, so I recommend leaving the fan on for at least 30 minutes after a shower. Installing a timer switch makes this easy because you won’t need to come back and turn it off manually. Hotter showers produce more steam, so even small adjustments—like lowering the water temperature—can help reduce humidity levels. If your bathroom has a window, pairing fan use with natural ventilation can dramatically improve air circulation. Many of my clients are surprised by how much difference this small change makes in reducing condensation on mirrors and walls.
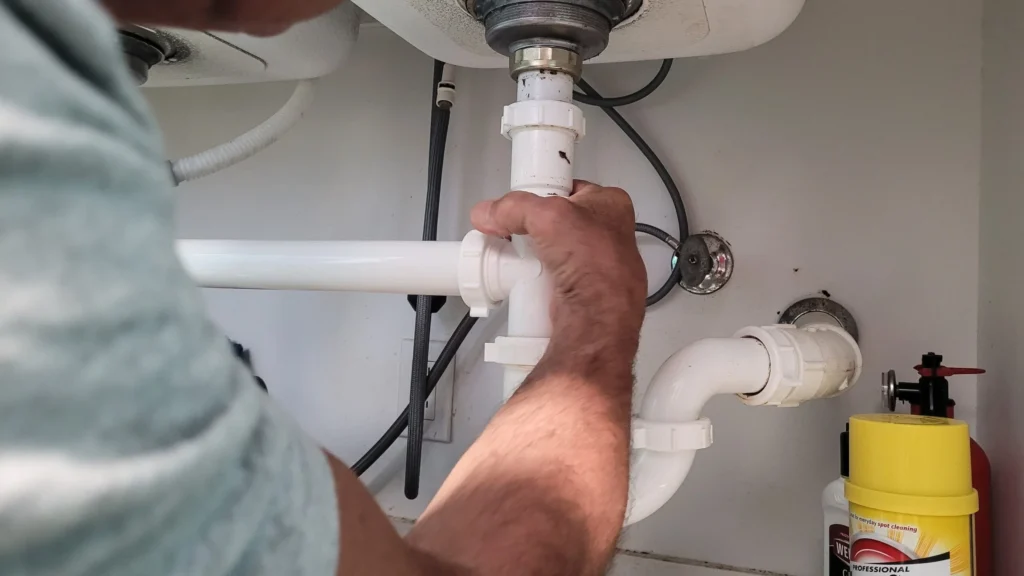
Fix Leaks Immediately
Even the smallest leak can lead to major mold problems if left unchecked. A dripping faucet or a slow leak under the sink may not seem urgent, but that constant moisture provides mold with exactly what it needs to spread. Over time, water can seep into flooring materials or drywall, making the damage harder and more expensive to repair. Whenever you notice a leak, address it right away—either by tightening fittings yourself or by calling in a plumber if needed. I’ve seen bathrooms where a leak ignored for months caused mold to spread behind walls, requiring a full renovation. Preventing that is as simple as regular inspections and fast repairs. For more on urgent issues like this, read my guide on bathroom repairs you shouldn’t ignore.
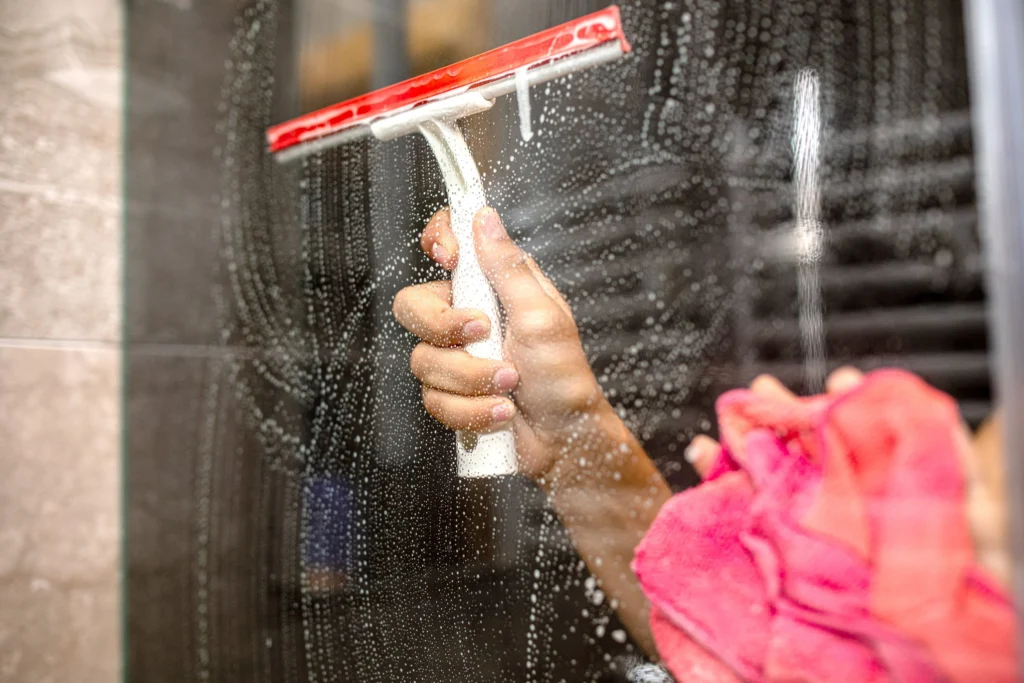
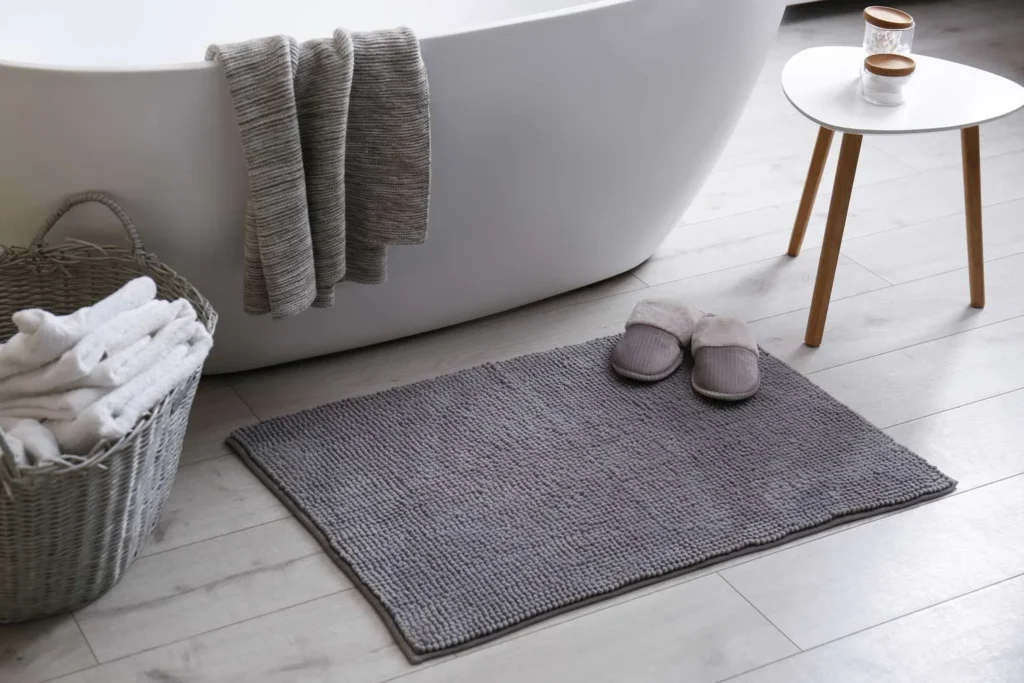
Keep Surfaces Dry
Water left sitting on surfaces is one of the easiest ways mold takes hold. Tiles, grout lines, and even window ledges can collect droplets that slowly soak in. I always recommend homeowners keep a squeegee in the bathroom and use it on shower walls and doors after bathing—it only takes 30 seconds but makes a huge difference. Drying down surfaces also prevents water stains, keeping your finishes looking new longer. Condensation on bathroom windows is another overlooked problem. If you notice water pooling on the glass, wipe it down and consider upgrading to insulated windows to reduce the issue. Consistency here is key—small daily habits go a long way in preventing bigger mold problems.
Wash Rugs, Towels, and Curtains Regularly
Fabric items are often the hidden culprits of bathroom mold. Towels, bath mats, and shower curtains absorb water daily, and if they don’t dry properly, mold spores will begin to grow within the fibers. I recommend washing these items at least once a week with hot water to fully eliminate mold and bacteria. If you use a plastic shower liner, replace it every few months to keep things fresh. Don’t forget about your laundry hamper—it’s another spot where damp towels can sit and create odors. By keeping fabrics clean and dry, you create one less opportunity for mold to develop.
Improve Air Circulation
Stagnant air allows humidity to linger and encourages mold growth. The simple act of leaving your bathroom door open after showers can dramatically improve airflow. If your bathroom has windows, open them to create cross-ventilation, which speeds up drying and brings in fresh air. In homes without windows, adding a portable dehumidifier can help regulate humidity, especially in summer months when moisture levels are naturally higher. In areas like Aurora and Newmarket where summer humidity can spike, this is an important step. For local homeowners considering upgrades, my page on Aurora bathroom renovations dives into strategies we use in these climates. The more air you move through the room, the harder it is for mold to survive.

Use Mold-Resistant Materials
When it comes time to renovate, choosing the right materials can set you up for long-term success against mold. For walls, mold-resistant drywall or cement board is far superior to standard drywall, which absorbs moisture quickly. However nowadays, a lot of tiles and paint are moisture-resistant and do a great job of protecting against the weathering. Tiles, when paired with high-quality grout and sealant, provide excellent resistance to mold growth. You can explore more inspiration in my article on best bathroom tile ideas.
Clean With Mold-Killing Solutions
Despite your best efforts, small patches of mold may still appear from time to time. The key is to clean them quickly with mold-killing solutions. White vinegar is one of my go-to recommendations because it’s natural, affordable, and effective against most mold species. For tougher spots, diluted bleach or specialized mold cleaners can be used, but always with proper ventilation. I advise against harsh scrubbing with metal brushes since they can damage tile and grout. Instead, use a nylon brush or sponge with your cleaner of choice. By staying proactive and cleaning regularly, you keep mold from gaining a foothold in your bathroom.
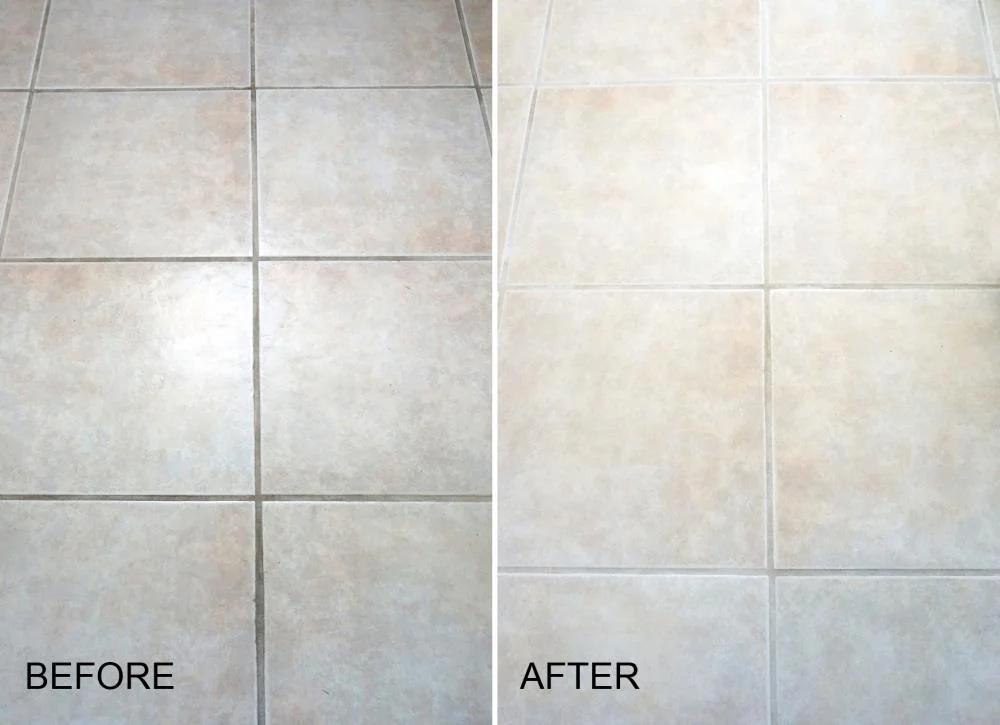
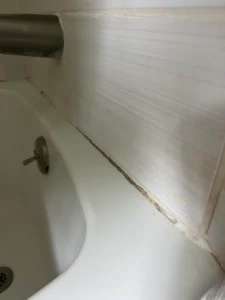
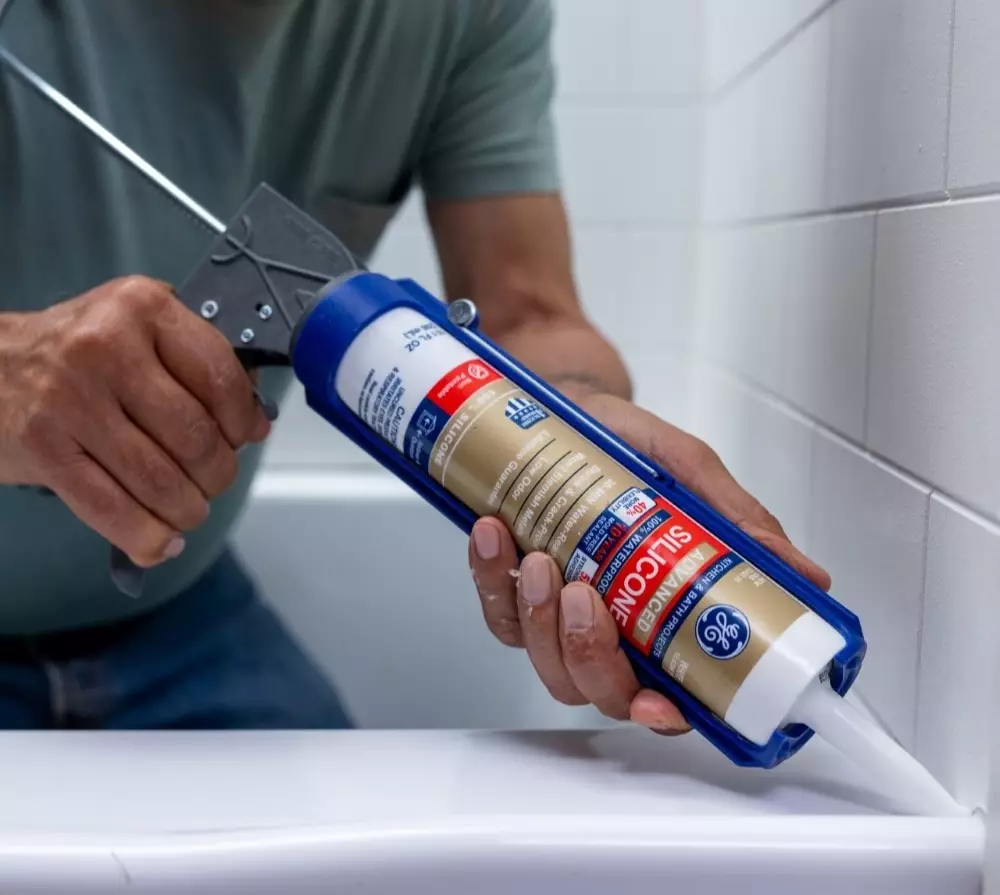
Reseal Grout and Caulk
Grout and caulk are two of the most vulnerable areas in a bathroom because they’re porous and prone to cracking over time. If water penetrates these areas, mold can develop beneath the surface where it’s much harder to remove. Resealing grout every year or two is a simple but highly effective way to prevent this problem. The same goes for replacing cracked or peeling caulk—fresh, mold-resistant caulk keeps water where it belongs. I’ve had clients call me for mold problems that started because of neglected grout lines, which could have been avoided with regular resealing. If you’re redoing your bathroom floors, my flooring installation preparation guide explains more about protecting surfaces from moisture.
Keep Bathroom Items Dry
Many homeowners don’t realize how much moisture comes from everyday items like loofahs, sponges, and shampoo bottles. When these sit in the shower, water pools underneath them and creates micro-environments for mold to grow. By removing them from the shower after use or storing them in a well-draining caddy, you eliminate another risk factor. I recommend rinsing and shaking out sponges and cloths before leaving them to dry. This step is often overlooked, but I’ve seen it make a noticeable difference in mold-prone bathrooms. Sometimes the smallest details are what tip the scale between a fresh bathroom and one that constantly smells musty.
When Mold Becomes a Bigger Problem
If you find that mold keeps coming back despite your best efforts, the issue might go deeper than surface-level spots. Mold behind walls, under flooring, or around plumbing fixtures usually requires professional help to address safely. At Raakss Reno, I’ve tackled many bathrooms where hidden mold was discovered during a renovation, and fixing it properly gave homeowners peace of mind. If you’re already considering a remodel, tackling mold issues at the same time ensures your new bathroom starts on a clean slate. For cost-effective renovation strategies, you can read my guide on bathroom renovation budget tips. Remember, ignoring persistent mold only makes the problem worse in the long run.
Final Thoughts
Preventing mold in your bathroom is all about controlling moisture, improving airflow, and staying consistent with cleaning routines. It doesn’t require expensive products or daily deep-cleaning—just small habits that keep your bathroom dry and well-ventilated. Renovations provide an excellent opportunity to upgrade ventilation, materials, and finishes that will reduce mold risks for years to come. With over two decades of renovation experience, I’ve seen firsthand how prevention pays off by saving homeowners both money and stress. If you’re ready to take the next step toward a mold-free bathroom, visit my services page or contact me today to schedule a consultation.